Congee (粥) is a rice dish that can be eaten at any time but it's a very common dish at breakfast, brunch and late night snack times.
You can find it when you go yum cha (some people like to call it dim sum but dim sum actually refers to the food you eat there), cafes, food court or specialty restaurants that specialize in congee, noodles and fried rice.
It can be full meals on it's own or one of the many dishes you eat.
It's also a very common dish to eat when you're sick as it's suppose to be easy on your digestive system so it doesn't zap the energy you need for healing.
Although when you're sick, you're eating very plain congee with minimum things added to it.
Congee is very very versatile. You can make many different variations depending on what you put in it. You can either add the additions at the beginning and let things cook together to enhance the flavours or add it at the end. If you look at the menu at a congee restaurant, you'll find that most of the different flavours are things they can add to a plain congee base and cook so they do not have to have 10 different pots of congee all waiting for people to order. Great idea for even home cooking if you need to save on time and you want a different congee flavour every day.
Besides all the different things you can add to the congee, there's 2 distinct style and it's determined by how the rice appears.
The most common kind you'll find is the one where the congee is a porridge with the rice all broken down and smooth. My parents will cook the congee for several hours to ensure all the rice is broken down. Some people will put it in one of those pots that stay hot over night for the rice to break down. Others even go to the extent of putting the congee through a food processors to ensure that it'll be smooth.
To make this style of congee, you use very little rice to make lots of congee. The water to rice ratio is huge. 1.5 to 2 rice cooker cups of rice makes a huge pot of congee that can be enough for 5 people to eat at least 3 bowls each.

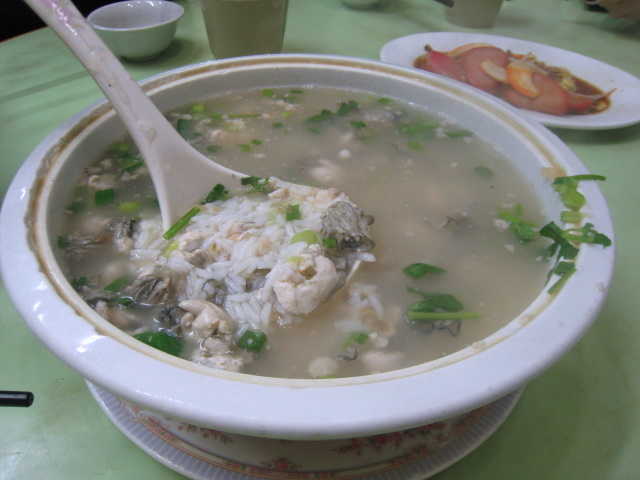
The other kind is 潮州粥 (Chiu Chow style Congee). This one is not as common. You usually have to go to a Chiu Chow style restaurant to find it. The rice in this congee is solid and not broken! It's almost as if you made a soup and added cooked rice to it after. Very different then the more common style congee. I find this one definitely more filling then the other one as it requires more rice.
There are other Asian countries that cook this style of congee too so it's possible to eat it at those restaurants but I don't have a full list of what style each country cooks as I haven't tried them all myself.
After all that explanation, onto the tip.
Here's the trick my friend taught me to make that smooth congee without cooking the congee for hours or using the blender.
It's very simple, just
freeze the rice before you cook it!!!
Wash the rice that you are going to cook, drain it and then freeze it for at least 2 hours.
I froze it over night as I was making the congee in the morning.
The frozen rice broke down much faster then unfrozen rice.
Within 20 minutes, the rice was broken down and basically the congee was ready to eat.
You can continue to boil it down so it thickens up to a thickness you like.
I found my congee continued to thicken up even after I turned off the heat and it was starting to cool.
It was definitely a lot thicker by the time I was finished eating and trying to pack up the left overs. Perfect for the next several days :)
Give it a try, definitely simple and makes it much faster to get your breakfast up and going in the morning.


 Ingredient