


It's been 2 month since the poly tunnel plastic has come off and the sun is in the sky longer. We've already had a couple of heat waves and for the most part, it's been quite dry. My garden is slowly chugging along.
I've learned a lot so far.
The heat waves has caused the broccoli to bolt and flower and it won't stop. Seems like even cutting the main stem did not cause the side shoots to grow. I guess it's just too hot :(
At least the leaves/flowers/stem are edible....So once it finishes seeding, I'll dig the whole thing up and eat it.
So far I've only found 1 more cabbage worm since I plucked off the original 3 and put pots of herbs closer to the cabbage. So I decided to try putting a pouch of Star Anise onto my broccoli. I had left over bags from my wedding and Star Anise is a very strong smelling spice. We'll see how it goes :)


Speaking of spices, it didn't seem cayenne pepper affected the mole...It just dug the whole again...But maybe it was the way I applied the pepper. I just poured it into the whole and then filled it with soil...so it probably just avoided the bottom of the original tunnel and dug close enough to the original.
So this time I decided to mixed 5 spice powder into soil before refilling the hole and so far so good...Fingers cross it'll stop coming back. 5 spice is also very strong smelling so I hope the mole won't like it.
An other plant that bolted so I have no idea what it is...is this one...I'm pretty sure it's my cabbage....what do you think?
 My pea is continuing to flower but probably less then a plant in a location with more sun. But this gives me hope that if I can build a trillis next year that has more room at the top for vines to climb and stay up, I'll be able to grow more! The bean that the rabbit didn't eat starts to grow faster once it reaches a certain height as it's getting more sun. I'm taking that as a sign.

I've learned a lot so far.
The heat waves has caused the broccoli to bolt and flower and it won't stop. Seems like even cutting the main stem did not cause the side shoots to grow. I guess it's just too hot :(
At least the leaves/flowers/stem are edible....So once it finishes seeding, I'll dig the whole thing up and eat it.
So far I've only found 1 more cabbage worm since I plucked off the original 3 and put pots of herbs closer to the cabbage. So I decided to try putting a pouch of Star Anise onto my broccoli. I had left over bags from my wedding and Star Anise is a very strong smelling spice. We'll see how it goes :)


Speaking of spices, it didn't seem cayenne pepper affected the mole...It just dug the whole again...But maybe it was the way I applied the pepper. I just poured it into the whole and then filled it with soil...so it probably just avoided the bottom of the original tunnel and dug close enough to the original.
So this time I decided to mixed 5 spice powder into soil before refilling the hole and so far so good...Fingers cross it'll stop coming back. 5 spice is also very strong smelling so I hope the mole won't like it.
An other plant that bolted so I have no idea what it is...is this one...I'm pretty sure it's my cabbage....what do you think?
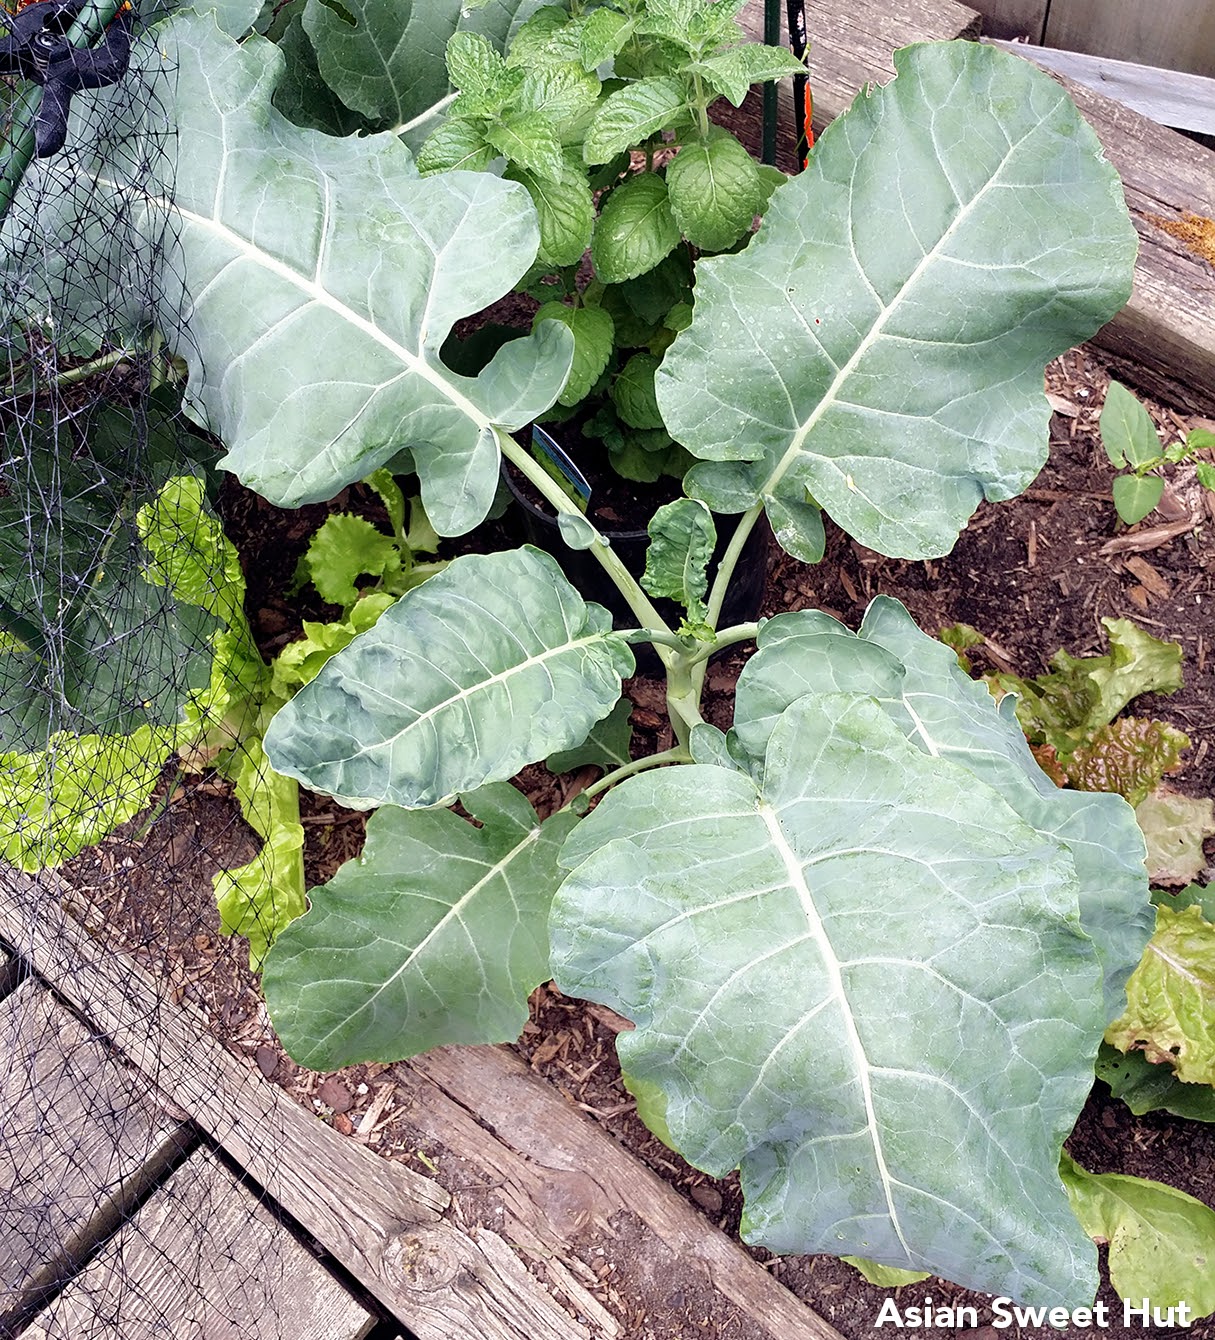 |
| Maybe bolted cabbage??? |
 |
| Cabbage |
 My pea is continuing to flower but probably less then a plant in a location with more sun. But this gives me hope that if I can build a trillis next year that has more room at the top for vines to climb and stay up, I'll be able to grow more! The bean that the rabbit didn't eat starts to grow faster once it reaches a certain height as it's getting more sun. I'm taking that as a sign.
Chayote is starting to climb as well. I almost killed this plant as I let it get to try in the pot. I'm happy it's finally growing and growing well. My house is pretty humid even in the winter, so the top of the soil looked moist. What I didn't know was that the inside was dry so eventually I almost killed it.
I would like to harvest 50 Chayotes. We'll see how that goes.


