You don't normally see pork bone congee in the menu at congee restaurant because this is one of the ingredients you should cook with the congee from the start for the flavours to really meld together.
You might ask, "why use pork bone instead of just the meat?" The reason why I used pork bone is because there's a certain sweetness that comes from pork bone when you make soup or congee. You can definitely use meat in your congee instead of pork bone, but that's another type of congee that I will post about at an other time.
Different flavours and different styles.
I cooked this for 30 mins to ensure that the flavours is mixed nicely into the congee.
I also pre-treated the pork bone when I first brought it before I froze them in the freezer so I can use it at any time. For the pre-treatment, I quickly blanched the bones. Then washed it under cold water with a brush to brush off any impurities. Once cooled and dried, I bagged them and stuffed them in the freezer to be used in soup/congee.
This will cook a very big pot that can feed up to 5 people.
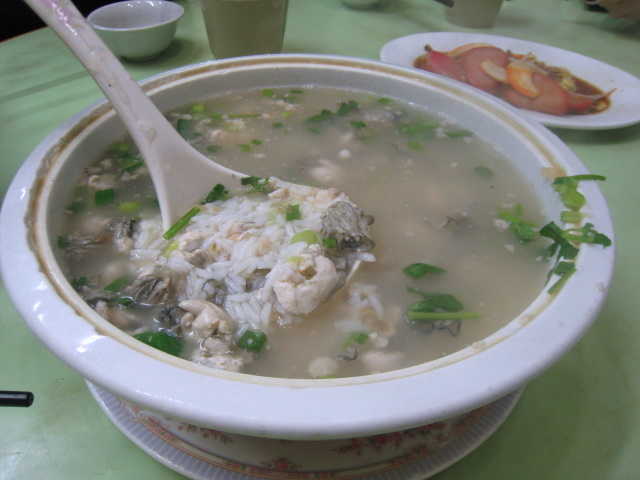
Pork Bone Congee with Dried Bean Curd
Makes 1 big pot Prep Time: Overnight Cook Time: 40 mins
Ingredients

- 1000g Pork Bone
- 3 to 3.5L of water
- 1.5 rice cooker cup of frozen rice
- 85g (1/2 bag) dried Bean Curd (picture to the left)
- 2 tsp salt
Directions
- Put 3L of water into the pot and boil.
- Add in the pork bone, bring it back up to a boil.
- Rinse the Bean Curd and put the Bean Curd and the rice into the pot of boiling water.
- Stir and bring back to a boil.
- Turn the heat to simmer and leave it alone for 20 mins.
- Check on the thickness and add more water if needed.
- Add salt and stir and cook for another 10 mins for 30 mins in total.
And you're done :)
The congee will continue to thicken after you cooked it and it's cooling!!!
I used 3.5L of water, when I first started eating it, it was still a bit watery. By the time I was on my last bowl, it was at a thickness I prefer.
So if you start off with 3L of water and you have left overs, you might need to add more water the next time you eat it.