Since I decided to add Chinese cooking to the blog, I thought I better write a brief note about the cooking staples in my house.
Why would I add Chinese dishes?
It was because of my brother. When my brother heard about me learning to make Chinese Soup, he asked me to send him copies of the recipes.That's when I realized, even though we both can cook normal day to day food, we never learnt how to make soup and without our parents, we would be totally soupless :*(
That made me think about posting them to my blog as well because I'm sure there's other people out there who would like to have Chinese soup but doesn't know how to make it.
I figured, since I'll be posting soup recipes, might as well post other quick dishes that we make for dinner.
So in our kitchen, we have the day to day items and then a variety of sauces and spices etc that we use a couple times a month.
In this particular post, I'll at least make a note of all the stuff I use on a daily/weekly basis. The rest will be found in recipes as I post them.
I will eventually post another one on soup items when I compile the list of what should be refrigerated and what doesn't have to be.
Soy Sauce
This is a must have!! But did you know that there's many different types of Soy Sauce? Not just the different brand but the taste as well! I still remember my little brother's none Asian Best Friend telling us that our Soy Sauce taste so much better then what he uses at home and we were so surprised that there can be a difference.
The most basic difference between Soy Sauce is light and "old"/Dark.
Light Soy Sauce is the one that is most typically used and what you see at restaurants. You can get less sodium version or just normal. This is the one we use

The less sodium one I also use is this one:
Both are now widely available now so you don't have to go to Chinese stores to get them.

Old/Dark Soy Sauce is the darker in colour and stains your food in the dark colour. It's actually less salty. We typically use this for colouring in things like Soy Sauce Chicken.
Fish Soy Sauce is used on fish like the name suggests :P Whenever we steam a fish, we will pour this Soy Sauce on along with Green Onion, Ginger and Oil. This Soy Sauce is sweeter and less salty and less intense.
At our home, we have all 3 of these Soy Sauce all the time.
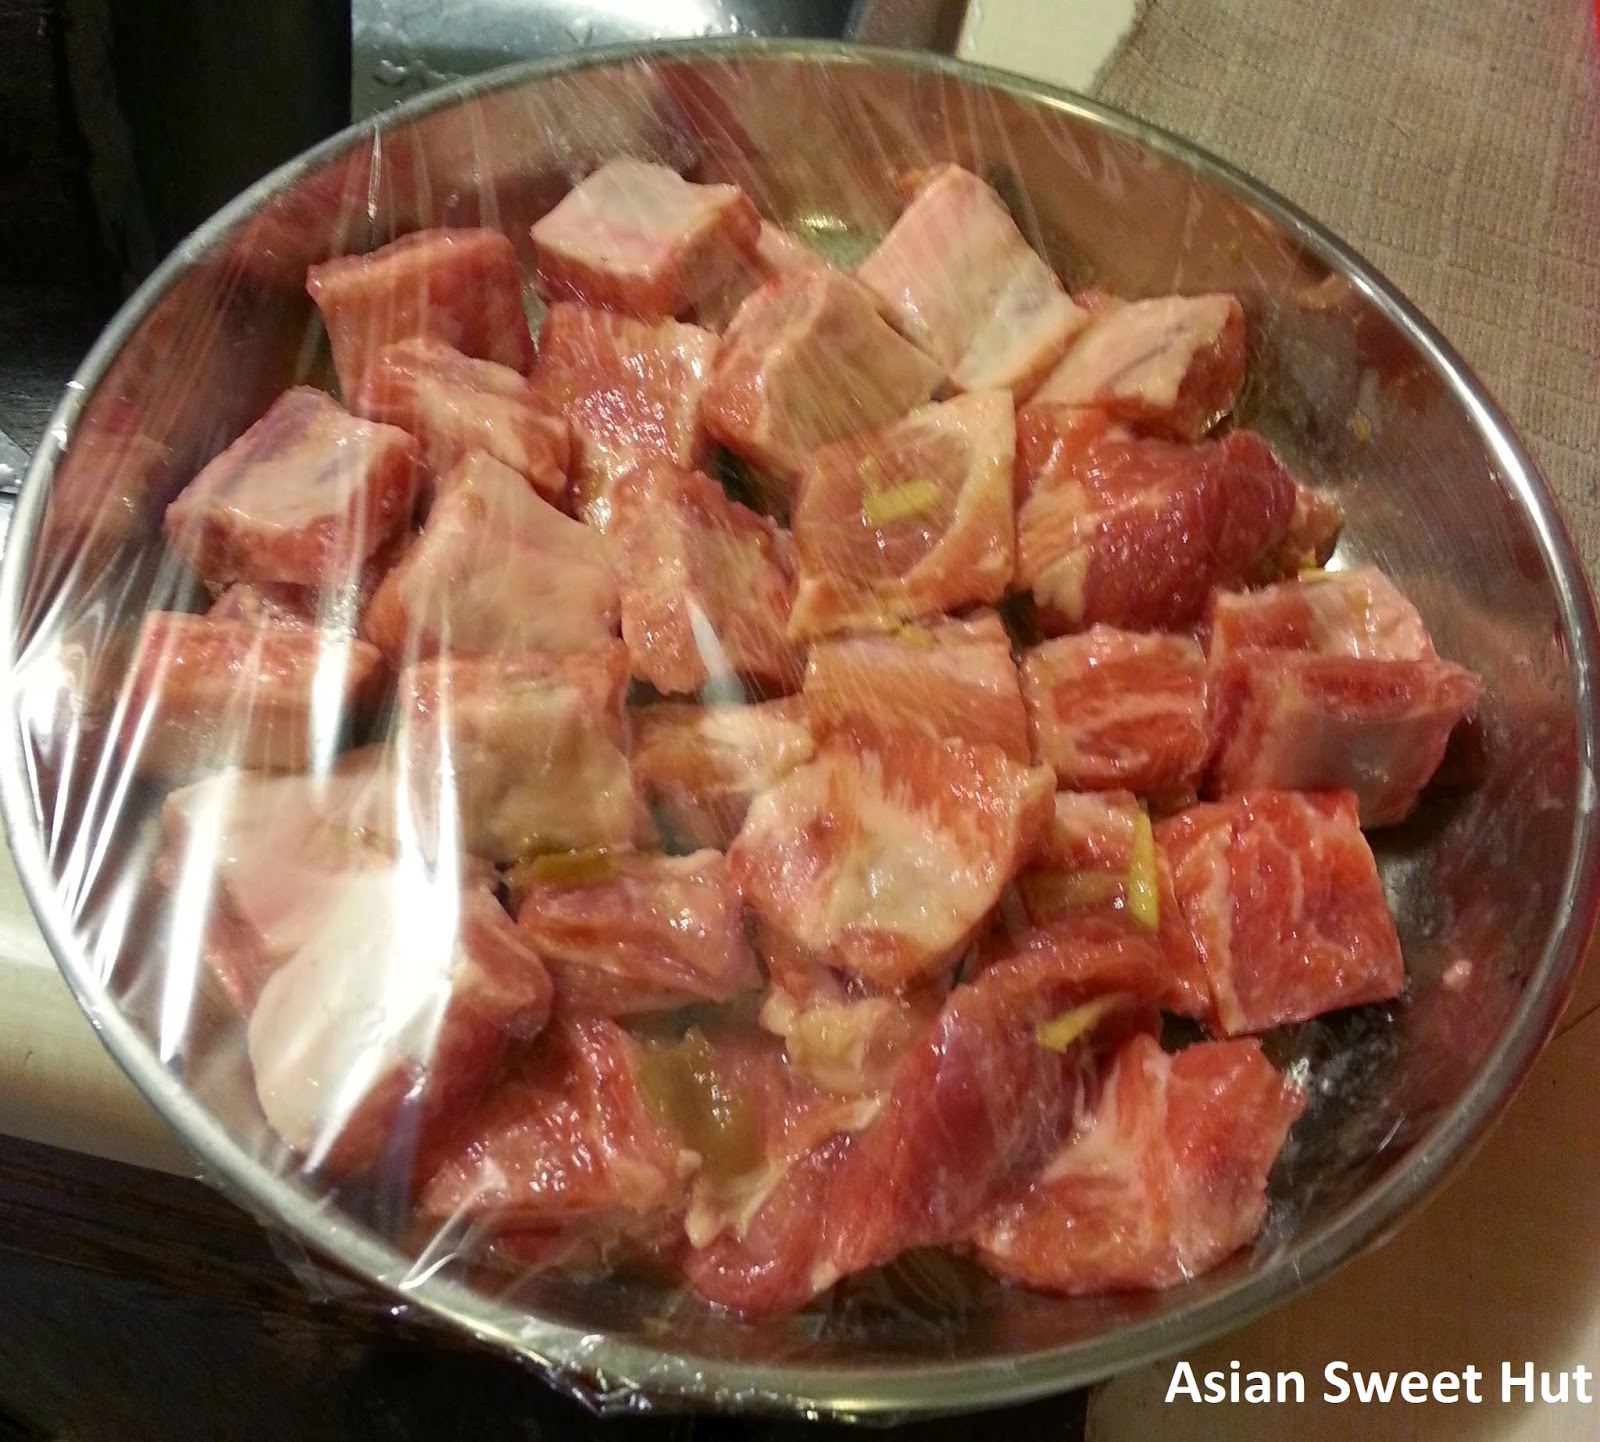
All our meats are marinated in Soy Sauce and Sugar base before we add any other flavours.
Salt
Yes, we actually have salt in the house. We don't use Soy Sauce for everything.
We put Salt in soups and for the veggies.
Salt is the flavour of life. It helps bring out the flavour in the food you cook so just use a little if you need to watch your salt intake.
Use Sea Salt to be healthier :)
Sugar
We have several types of sugar we keep in the pantry
Normal white sugar for most of our cooking, marinating etc
Brown/Yellow sugar for my baking. But I should really be replacing white sugar with this instead. They're basically the same but this is slightly more sweet and moist
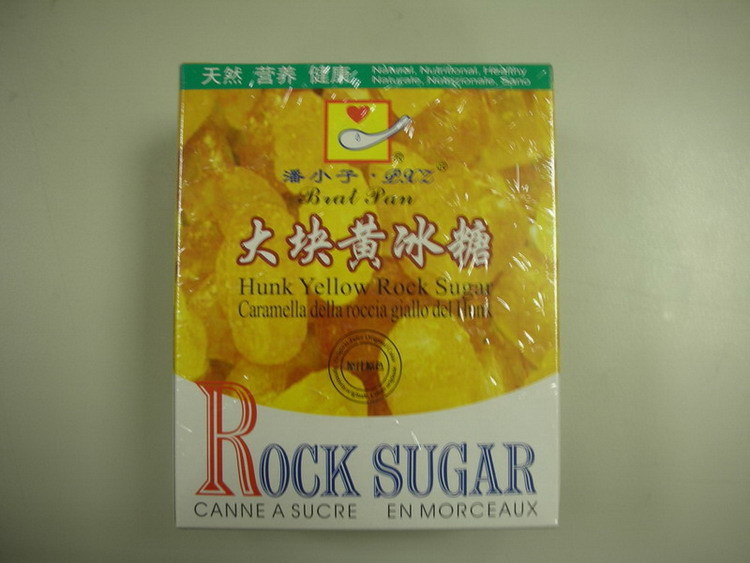
Rock Sugar - used when we cook things like Chinese soupy desserts or things that are more liquid in nature
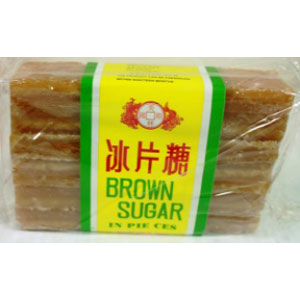
Brown Rock Sugar - similar to the Rock sugar above, but because it's brown, usually we use it more in cooking anything liquid in nature but not desserts because it would colour the dessert
Garlic
We cook just about everything with a bit of garlic. It adds very nice flavour so my brother and I love using it.
At our house, we pre-mince lots of garlic using a food processor and then store it in jars in the fridge. That way it's all done and all we have to do is scoop out what we need. :)
You can buy minced garlic in jars at the stores too but it's honestly not too bad to do it yourself.
You can buy bags of garlic that is already peels and all you have to do is cut off the stem and throw it into the processor. Just sit in front of the TV with the bag of garlic and start cutting away.
Ginger
Very important in Chinese Cooking. Ginger "chases away wind" and warms you according to Chinese eating theory. Store Ginger in a dry cool dark place. We typically put it under the sink.
We usually wash, peel and slice some and keep it in a box in the fridge for easy access.
My aunt likes to do the same but mixes it with oil. So when she cooks all she does is scoop the oil+ginger mixture and that's all the oil she'll use in her cooking.
Onion
We always have Green Onion and normal Onion at our home.
Both adds nice flavour so I like to have both at hand when I cook.
Corn Starch
As apart of the marinate, we typically add some Corn Starch. According to my dad, it makes the meat more "smooth". It also helps with thickening liquid that appears when cooking.
Corn Starch + sugar + water is a very typical mixture added to thicken the sauce of any dish you're making that you deem necessary to thicken.
Cooking Wine
We have Chinese cooking rice wine at home. There's so many of them to choose from when you're at the super market. Pay attention to see if it has salt or not. Some of them have a specific smell or taste as well. I'm afraid you will have to try them to see if you like them. Usually, I'll add a splash when required to help either bring out flavour or de-glaze a pan/wok.


 I'm so excited I finally got my wedding pictures from my photographer.

 This is the center pieces on the long tables we had. The color leaves we used in an effort to match the cake. All fall colors. We scattered small acorns and pumpkin along the long table since it's so long.


